
How to Install PEX Pipe
If you’re preparing to upgrade your plumbing, learn how to install PEX pipe. This material offers a flexible, durable option that often outlasts traditional metal or PVC lines. Many homeowners choose it for its user-friendly nature and reduced risk of leaks. Below, we’ll explore what makes this form of cross-linked polyethylene pipe so popular, along with practical steps and tips to help you tackle a successful project.
Contents
- 1 The Many Benefits of Using PEX in Your Home
- 2 Preparing for Your PEX Tubing Installation
- 3 Steps for a Smooth PEX Plumbing Installation
- 4 Connecting PEX to Other Pipes and Ensuring a Secure Fit
- 5 Maintenance Tips and the Added Benefits of PEX Piping
- 6 PEX vs Copper Plumbing: What to Consider
- 7 Final Thoughts on Improving Your Home with PEX
The Many Benefits of Using PEX in Your Home
PEX pipe flexibility is one of its standout features it can navigate bends and curves with fewer connections, which makes any home plumbing installation simpler. There are different types of PEX pipe to explore, including PEX-A, PEX-B, and PEX-C, each with slight differences in strength and memory. Regardless of the type you choose, PEX plumbing installation can lower your risk of corrosion and reduce labor time compared to rigid metal pipes.
Another perk is cost of PEX installation, which tends to be lower than copper in many cases. That cost difference appeals to DIY enthusiasts, allowing them to invest more in best PEX tools or other home upgrades. You’ll also find that PEX pipe has a smoother interior surface, minimizing potential buildup over time.
Preparing for Your PEX Tubing Installation
Set aside some time to gather the proper PEX pipe tools before breaking into your walls or floors. You’ll need a PEX cutter for slicing flexible tubing to the lengths you require. Crimp rings, cinch clamps, or expansion fittings will be necessary for creating watertight connections, so it’s wise to decide early which PEX connection techniques you’ll use.
Also think about PEX insulation requirements if you live in an area where pipes might freeze. Insulating your PEX pipes can protect them from harsh climates and potential damage. Load up on enough insulation sleeves to cover both exposed pipes and any cold spots in between, and ensure that you have enough clamps or hangers to secure everything in place.
Checking Your PEX Sizing Chart
Before you grab your first piece of tubing, refer to a PEX sizing chart. This helps you select the correct diameter to match your water demand and existing plumbing. It’s a simple but often overlooked step that can help avoid flow reduction or unforeseen pressure drops. Larger diameters supply water to big appliances and showers, while smaller lines work for basins or other lower-demand fixtures.
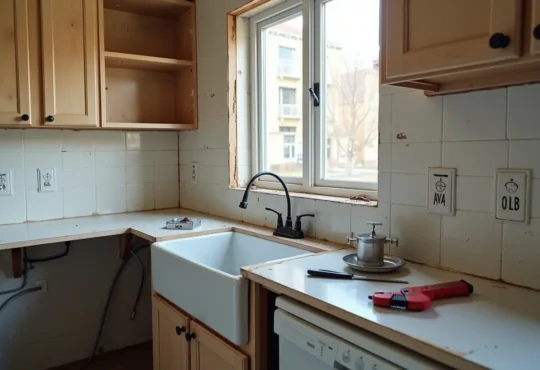
Steps for a Smooth PEX Plumbing Installation
Begin by shutting off your water supply and draining any leftover water from the lines. You don’t want to start cutting old pipes only to find them still full of water. Once you’re sure the system is empty, you can start cutting out old copper or PVC lines as needed. Keep track of the lengths and note the turns or junctions where the new PEX pipe will fit.
Lay out your PEX tubing installation plan on paper or at least plot it mentally. Measure your paths carefully to avoid running short of tubing mid-project. One of the big PEX system advantages is that you can reduce the number of joints, which cuts down on leak points. If you plan to set up a PEX manifold system, place it in a central location to simplify future maintenance and expansions.
Securing PEX Pipe
A key part of installing PEX is ensuring the tubing doesn’t kink or twist. If you need to curve around corners, do so gradually this leverages the flexible plumbing solutions PEX offers. Use clamps or hangers to hold the pipe along joists or studs, keeping it firmly positioned without pinching. Give the pipe enough room to expand and contract slightly, which helps maintain the integrity of your connections.
If your plan includes underfloor heating installation, you’ll value how easily PEX bends and runs through floor space. Just be certain to check manufacturer guidelines so you maintain proper spacing and water flow. The consistent, gentle curves of PEX help move hot water evenly, which can create a comfortable and efficient heating setup.
Connecting PEX to Other Pipes and Ensuring a Secure Fit
When you transition between PEX and metal or PVC lines, you’ll likely use special adapters to create a tight seal. Many new homeowners worry about connecting PEX to other pipes, but adapters and couplings make the entire process straightforward. Simply choose fittings that match both the PEX tubing and the existing pipe material.
PEX pipe fittings often come in brass, plastic, or a combination. Whichever option you use, be consistent to avoid confusion while working. Crimp rings and cinch clamps may vary slightly, but they serve the same goal: locking your PEX tubing tight around the fitting. Always double-check for leaks once you turn the water back on by running each fixture briefly and verifying that all joints remain dry.
Choosing the Right PEX Connection Techniques
You don’t have to use just one style of connection. Some homeowners experiment with various pipe connection methods based on the location and water pressure. Popular choices include crimp systems, clamp systems, and expansion fittings. Each approach can deliver a secure result just ensure you’re using the designated PEX ring or clamp meant for your chosen style.
If you’re unsure which technique to adopt, consider factors like budget, ease of use, and whether you plan a large-scale DIY Pex plumbing project. Clamp tools are often more affordable, whereas expansion fittings can offer a quick installation once you’re familiar with the process. Whichever you pick, always have extras on hand in case a crimp or clamp doesn’t seat correctly the first time.
Maintenance Tips and the Added Benefits of PEX Piping
PEX pipe repair is usually simpler to tackle than metal pipe repair. If a leak develops in a flexible PEX line, you can cut out the damaged segment and replace it without dealing with solder or threading. That convenience saves time and reduces guesswork. It’s one reason so many find Pex pipe installation appealing.
Beyond easy maintenance, the benefits of PEX piping include quieter water flow a bonus if you’re tired of clanging metal pipes. Plus, the smooth interior of PEX resists scale buildup, helping you maintain water pressure over the years. This makes it a standout for both new builds and existing home retrofits.
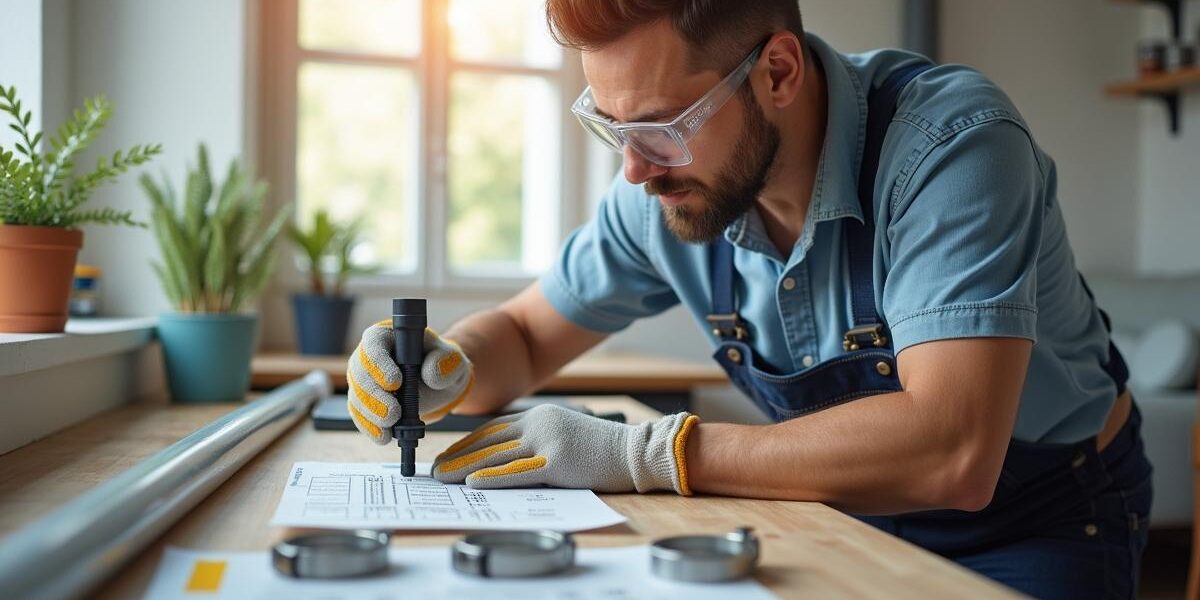
Ensuring PEX Installation Safety
Although plumbing with Pex is often safer than working with torches or high-heat solder, remember to protect yourself. Wear safety glasses when cutting or crimping. A slip of the tool could bring your hand in contact with a sharp edge, so gloves also help reduce the risk of minor injuries. As you handle Pex pipe tools, keep a tidy workspace and unplug power tools when not in use.
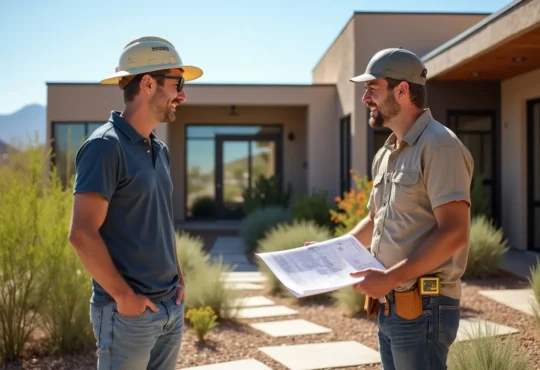
It’s also wise to check local plumbing codes before starting, especially if you’re installing Pex fittings in older homes. Regulations can vary, and a quick conversation with your local building department can save a potential headache down the road. If you’re still unsure about any step, consult a licensed plumber who’s familiar with flexible plumbing solutions.
PEX vs Copper Plumbing: What to Consider
Deciding between PEX vs copper plumbing can factor in longevity, initial expense, and ease of installation. Copper has been a go-to material for decades, admired for its durability and heat tolerance. Yet it tends to be more labor-intensive and expensive, making PEX an attractive alternative with its simpler connection methods and lower cost.
PEX is highly resistant to corrosion and holds up well against harsh water conditions that might degrade copper over time. Another advantage is how easily you can expand or rearrange a Pex plumbing system if your home needs to adapt. Whether you have a large-scale remodeling project or a minor upgrade, the speed of PEX installation often blows copper out of the water no pun intended.
Best PEX Tools for the Job
Investing in the best PEX tools streamlines your work and ensures leak-free results. A reliable PEX cutter is essential, providing clean, square cuts that won’t compromise your connections. Crimp or cinch tools should feel comfortable in your hands, as you’ll be using them multiple times in even a modest job.
It’s possible to rent or borrow specialty expansion tools if you favor expansion fittings. Keep in mind that consistent application of tool pressure is the key to forming perfect expansions. With all the new options on the market, read a few product reviews beforehand or ask fellow DIYers for recommendations. Good tools cut down on frustration and help you maintain a solid pace as you work.
Final Thoughts on Improving Your Home with PEX
When you weigh Pex vs copper piping or other alternatives, the decision often comes down to ease, budget, and long-term flexibility. PEX insulation requirements are straightforward, and installing Pex fittings typically takes less time compared to soldering copper. Rather than wrestling stiff metallic tubing around corners, you can snake PEX through crawl spaces and around obstacles with minimal fuss.
Once your Pex pipe installation is complete, you’ll likely appreciate how quickly water flows, as well as how quiet it remains. The entire system reduces many of the common issues that come with older pipes, including pinhole leaks or corrosion. All in all, PEX stands as a smart upgrade for anyone eager for a more efficient, adaptable, and cost-friendly plumbing arrangement.

 Hi I'm Joe.