The Ultimate Guide to Tackling a Plumbing Project at Home
Taking on a plumbing project might sound intimidating, but with the right approach, it can be incredibly rewarding. Whether you’re upgrading fixtures, fixing a persistent leak, or revamping an entire bathroom, a well-planned project can save you money and give your home a fresh, functional update. If you’re ready to roll up your sleeves, let’s talk about what you need to know before you start.
Contents
- 1 1. Renting a Dumpster – A Smart First Step
- 2 2. Shutting Off Water Before You Start
- 3 3. Using the Right Tools for the Job
- 4 4. Choosing the Right Materials
- 5 5. Measuring Twice, Cutting Once
- 6 6. Properly Sealing Connections
- 7 7. Testing for Leaks Before Finishing Up
- 8 8. Handling Permits and Local Codes
- 9 9. Knowing When to Call a Professional
- 10 Making Your Plumbing Project a Success
1. Renting a Dumpster – A Smart First Step
Plumbing projects, especially major ones, can create a surprising amount of waste. Old pipes, broken tiles, drywall, and outdated fixtures all add up fast. Rather than piling it up in the yard or making multiple trips to the landfill, dumpster solutions for homeowners make everything easier.
- Convenience – No need to stop mid-project to haul away debris. Just toss it in the dumpster and focus on the work.
- Safety – Keeping broken materials and sharp objects in one contained space prevents hazards around your home.
- Efficiency – Once the job is done, the entire mess is hauled away in one go, saving you time and effort.
Even if you’re just replacing a sink or a toilet, you’d be surprised at how much waste can accumulate. Getting a small dumpster ensures you’re prepared, and it keeps your work area clear.
2. Shutting Off Water Before You Start
This one might seem obvious, but you’d be shocked at how many people forget it. Before touching a single pipe, shut off the water supply to avoid a massive mess. Depending on the project, you might need to turn off water to the entire house or just a specific fixture. If you’re not sure where the shut-off valves are, now’s the time to locate them.
While you’re at it, turn on the faucets to drain any remaining water from the pipes. This small step can prevent unexpected splashes and help keep your workspace dry.
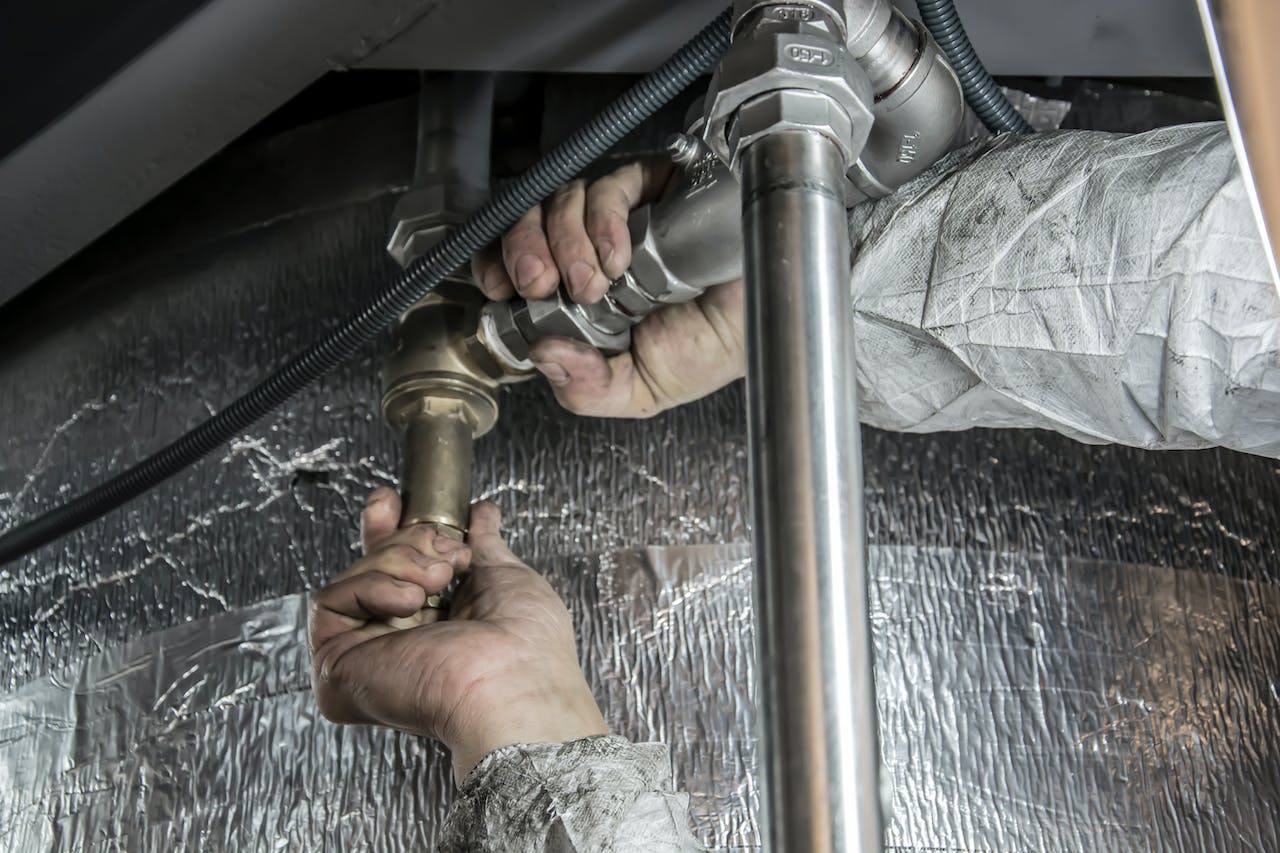
3. Using the Right Tools for the Job
Plumbing work isn’t something you can tackle with just a wrench and a screwdriver. While some basic repairs don’t require much, bigger projects demand specialized tools. A pipe wrench, adjustable pliers, Teflon tape, a plumber’s torch, and a pipe cutter can all come in handy depending on what you’re working on.
If you don’t have these tools, renting or borrowing them can save you money. Many home improvement stores offer tool rentals, which is a great way to get high-quality equipment without spending a fortune.
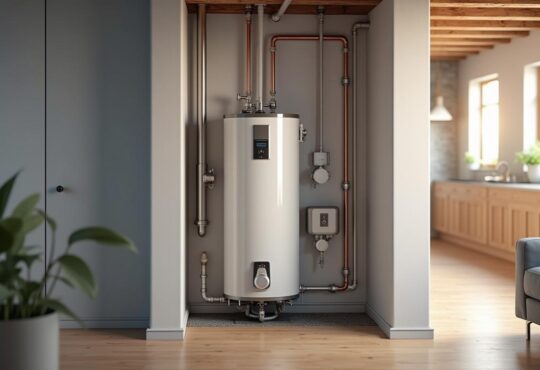
4. Choosing the Right Materials
Pipes and fittings come in different materials, and choosing the right one is key to a lasting plumbing system. Copper, PEX, and PVC are common choices, each with its own benefits.
- PEX – Flexible, easy to install, and resistant to freezing, making it a great choice for DIY projects.
- Copper – Durable and long-lasting, though it requires soldering, which can be tricky for beginners.
- PVC – Commonly used for drain lines, it’s lightweight and easy to cut but isn’t ideal for water supply lines.
When replacing pipes or fittings, make sure to match materials. Mixing different types of pipes can lead to corrosion and leaks down the line.
5. Measuring Twice, Cutting Once
Plumbing is all about precision. Cutting pipes too short, drilling in the wrong spot, or getting the wrong size fitting can turn a simple project into a frustrating one. Always measure carefully before making cuts or adjustments. A small mistake can lead to leaks or an unstable installation.
When in doubt, err on the side of slightly longer pipes—you can always trim them down, but you can’t make them longer once they’re cut!
6. Properly Sealing Connections
Leaks are one of the most common plumbing headaches, and they often happen because of poorly sealed joints. Whether you’re working with threaded fittings or compression joints, using the right sealant is crucial.
- Teflon Tape – Perfect for threaded connections to prevent leaks. Wrap it clockwise around the threads before tightening.
- Pipe Dope (Joint Compound) – Works well for metal and PVC fittings, offering a secure, watertight seal.
- Plumber’s Putty – Great for sealing sink drains and similar applications, but not suitable for pipes under pressure.
Taking the time to properly seal every connection will save you from dealing with drips and leaks later.
7. Testing for Leaks Before Finishing Up
Before you call it a day, always test your work. Turn the water back on and check every connection. If you spot any leaks, tighten fittings or reapply sealant as needed. Catching a problem now is much easier than dealing with a leak after everything is sealed up.
For drain lines, running water through the pipes can help you spot any slow leaks before they become bigger issues. A few extra minutes of testing can save hours of frustration later.
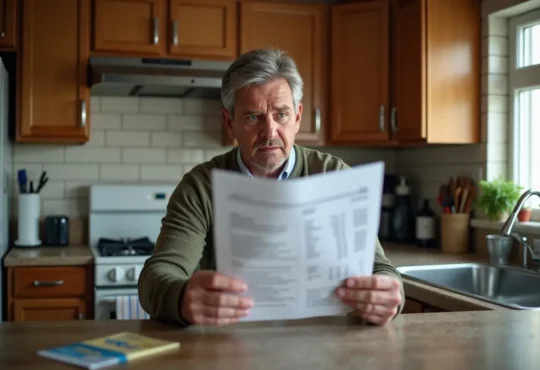
8. Handling Permits and Local Codes
If you’re making major plumbing changes, check if you need permits. Many areas have strict regulations when it comes to plumbing work, especially for major modifications. Ignoring permits or skipping inspections can lead to fines or problems if you ever sell your home.
Even if a permit isn’t required, following local plumbing codes ensures your work is safe and up to standard. If you’re unsure, a quick call to your local building department can clear things up.
9. Knowing When to Call a Professional
DIY plumbing is great for smaller projects, but some jobs are best left to the experts. If you’re dealing with gas lines, major pipe replacements, or anything beyond your skill level, calling a plumber can save time and prevent costly mistakes.
A good rule of thumb? If you’re unsure about something, ask a pro before proceeding. Plumbing issues can escalate quickly, and the last thing you want is water damage or a system that doesn’t work properly.
Making Your Plumbing Project a Success
Tackling a plumbing project at home can be incredibly satisfying when done right. With proper planning, the right tools, and attention to detail, you can upgrade your home’s plumbing with confidence.
Whether it’s a simple fixture replacement or a full-scale upgrade, following these steps will help you get the job done smoothly. And don’t forget—having a dumpster on hand makes the entire process cleaner and more efficient from start to finish.


 Hi I'm Joe.